As Janmashtami/Gokulashtami and many other festivals are nearing, I wanted to post traditional murukku recipes which was due for a long time. Every time I post murukku recipes, I get lot of questions, asking me, if we can do murukku with store bought flour. As those who are living abroad have no access to flour mills/rice mills, I made this murukku with store bought flour and it turned out very delicious. Today we will learn how to make murukku with split roasted gram dal flour, rice flour and urad dal flour following this easy recipe with step wise pictures.
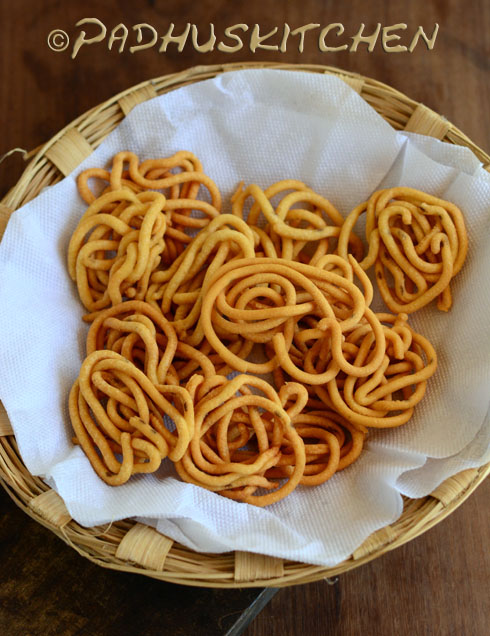
Pottukadalai Murukku
Prep Time : 15 mins
Cook Time : 30 mins
Yields: 25 Murukkus
Recipe Category: Snacks-Murukku
Recipe Cuisine: South Indian
Author:Padhu Sankar
Yields: 25 Murukkus
Recipe Category: Snacks-Murukku
Recipe Cuisine: South Indian
Author:Padhu Sankar
Ingredients needed
Rice flour – 2 cups
Whole skinned Urad dal flour -1/2 cup
Roasted gram dal/pottukadalai flour – 3/4 cup
Cumin seeds/Jeera – 1 tsp
Hing/asafoetida – a pinch
Melted Ghee – 1 tsp
Hot oil – 1 tsp
Salt to taste
Oil for deep frying
Murukku maker
Preparation
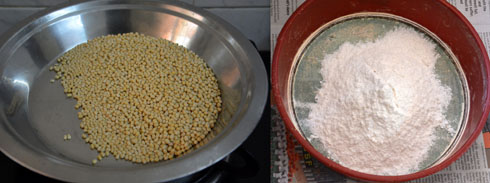
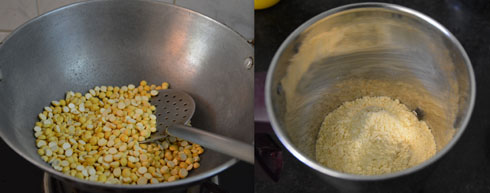
In a pan/kadai, dry roast whole urad dal until it turns very light brown. Do not over roast it. Remove from the pan and switch off the flame. In the heat of the pan, dry roast the roasted gram dal (pottukadalai in Tamil and bhuna chana in Hindi) slightly.
After it cools, powder both separately to a fine powder and sieve it. Powder the remains again and sieve it. Do this for both urad dal and roasted gram dal.
Sieve rice flour (buy good quality rice flour. I have used store bought rice flour for making this murukku) and keep it aside.
Method
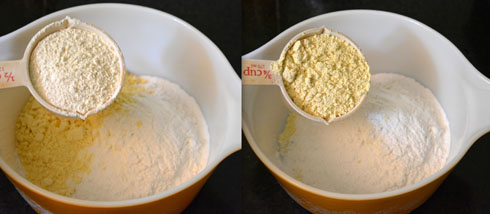
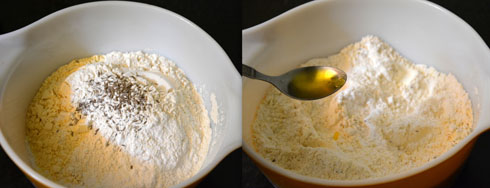
In a bowl, mix together rice flour, urad dal flour and roasted gram dal flour well with your fingers.
Add cumin seeds, melted ghee, hot oil and mix well.
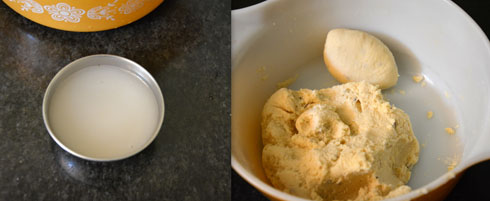
In a bowl, mix together salt, hing and 1/2 cup of water (this is done so that the salt will get mixed with the dough evenly). Add the salted water and more water, little at a time to the flour and make a dough. Once you can gather the dough, stop adding water. Do not add too much water as the murukku will keep breaking when squeezed through the murukku maker. Taste the dough and check for salt.
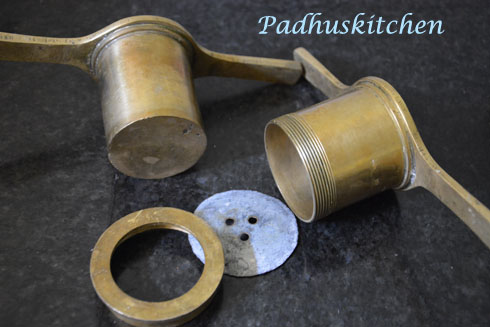
I used the 3 holes disc in the murukku maker for making this murukku.
Now take a portion of the dough and put it inside the murukku maker. Press it and check it. If you find it hard to press, you can add 2 or 3 drops of water and mix the dough well again.
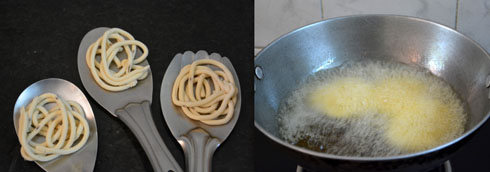
Grease 2 or 3 ladles or small plate with oil for placing the squeezed out murukku. Place the dough inside the murukku maker and press the dough through the 3 hole disc on the ladle or small plate, in a circle to form murukkus as shown in the picture below. You can also press the dough through the 3 hole disc directly into the hot oil. I am more comfortable with this method.
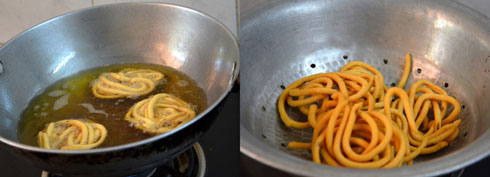
Making murukkus
Heat oil in a kadai (To check if the oil is hot, drop a piece of dough into the hot oil, if it raises to the surface immediately, the oil is hot enough to fry the murukkus). When the oil is hot, reduce the heat to medium and slide the murukku from the ladle into the hot oil gently. You can fry 3 or 4 murukkus depending on the quantity of oil and the size of your kadai.
After dropping the murukku into the hot oil, let it cook for a few seconds, then flip it over to the other side.
Fry the murukku until golden brown. When the murukku is done (or cooked), you will not see bubbles on the surface. Compare the picture above and the picture below to have a better idea. The picture above has bubbles and in the picture below there are no bubbles and you can see the murukku well as they are cooked.
Once done, remove from the oil with a slotted laddle and place it in a colander or paper towel to drain off excess oil if any.
After frying the first batch, you can taste and see. If you feel it is too hard, you can add a tsp of hot oil to the dough, mix it well again and then continue to make murukku. If you feel, you need more salt, you can add to the dough, mix well and then continue.
Repeat the process for the rest of the dough.
Enjoy with a cup of hot ginger cardamom tea or South Indian Filter Coffee.
Storage and Shelf life – Once it cools, store it in an air tight container at room temperature. Stays good for a month.
Easy Murukku Recipes
Spicy Murukku using wet grinder method
If you found this post useful, I would really love it, if you pin it or share it with your Facebook fans or Twitter followers or Google+ circles today. All it takes is a simple click on the “pin it” “like,” “share,” “tweet,” or Google+ buttons below the post. Thank you!
View Comments (24)
if i use spilt urad dal instead of whole urad dal, do i keep the quantity of the dal same as mentioned in the recipe
You need half cup of urad dal flour. You can use either skinned spit urad dal or whole urad as the measurement of the flour matters.
Just tried.. It came out very nicely n tasty .. Thank you
just tried. came out very well. And it was easy to do as well. i used black whole urad dhal, butter in the place of melted ghee, ajwain in place of jeera. Thank you
Hello padhu mam, I tried this receipe and my little one loved so much. Thanks a lot
Hi mam, I tried this recipe.. Does the urad dhal nd urad dhal powder ratio varies? My muruku dough was hard to press even after adding water every tym bf I put in mould..I got good shape when I press but in oil and after fried everything got separated and broke..y s it so? But the taste was very good and melted in mouth..
For murukku, you have to use roasted urad dal flour.
Can I use store bought urad dhal flour?
Use homemade urad dal flour as we do not know if the store bought flour is roasted and powdered.
It is simply mentioned as Rice flour..what does it refers to?? pulungal arisi or some othrs??
I assume that you did not read the first paragraph. It is store bought rice flour (raw rice flour). If you want to make it at home, check my homemade rice flour recipe.
Came out really good without much effort. I didn't need anybody's help to press the murukku out of murukku maker which is a win-win for me. Made it for Diwali 2016. Thanks for the precise recipe.
I tried making murukku using a lot of methods but failed.It comes out too hard to bite.I used readymade flour and once thosai flour mixed with gramme flour like people said.What is Hing? I like soft murruku.Please advise.
You have to add either butter or ghee or hot oil when preparing the dough otherwise the murukku will turn hard. Try making this murukku.
Thanks Dr,I prepared muruku,it's awesome ND soft,tasty
Tried out this ..came out delicious